Introduction
A Workspace in Square Cloud is a collaborative environment where multiple users can work together on projects hosted by the Workspace owner.Prerequisites
- Square Cloud Account: Sign up through the signup page using your email.
- Active Paid Plan: You need an active Standard plan or higher to create and manage Workspaces. Check our available plans and choose the one that best suits your needs.
Workspace management
To start managing Workspaces, navigate to the Square Cloud Dashboard. In the main page, you will find the “Workspaces” with your name, you just need to click on it and select or create a workspace.Creating a workspace
When you create a Workspace, you become its owner. As the owner, you have the ability to invite other users to join the Workspace and collaborate on projects.
Inviting users
Getting the invite code
The user who you want to invite needs to provide you with their unique invite code.
They can find this code in their Square Cloud account settings under the “Authentication” section, here.

The user doesn’t need to have a paid plan to join a Workspace.
Inviting the user
Once you have the invite code, go back to the Workspace configuration page.
There, in “Settings” you will find an option to invite users by entering their invite code and selecting their permission.
There, in “Settings” you will find an option to invite users by entering their invite code and selecting their permission.
Permissions
Viewer
Viewer
Can view system dashboards, metrics, logs, and alerts to monitor overall health and performance.
Manager
Manager
In addition to viewing permissions, you can control the lifecycle of applications by starting, stopping and restarting services.
Maintain
Maintain
In addition to manager permissions, you can upload, download and edit files and application settings.
Admin
Admin
Have full access, including viewing metrics, managing applications, editing files, accessing confidential data, and performing snapshots and system restorations.
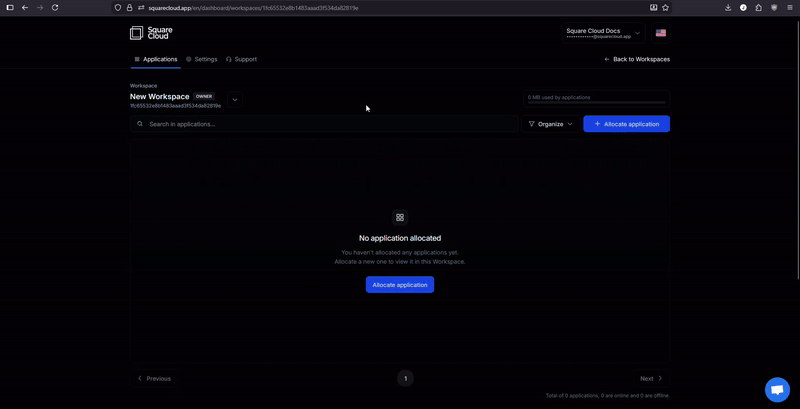
Allocating projects to a workspace
To allocate a project to a Workspace is very simple. You need to be the owner of the Workspace and the application hosted on your account. In the workspace page, click on the “Allocate Application” and select the application you want to allocate to the workspace.Only the owner of the Workspace can allocate applications to it.