Generate GitHub Access Token
First, you need to create a personal access token on GitHub to authenticate the connection.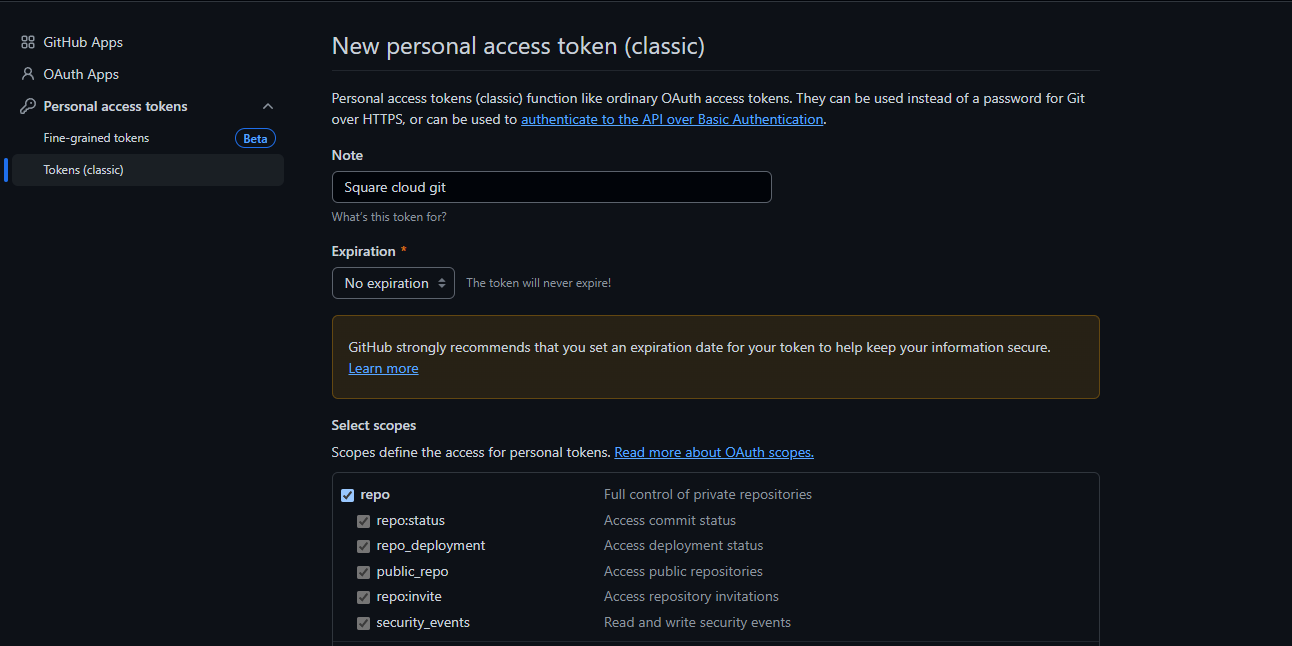
- Visit the Personal access tokens page
- Click “Generate new token” and choose the “classic” option
- Select only the “repos” option in permissions
- Do not set an expiration time to avoid interruptions
- Give your token an identifying name
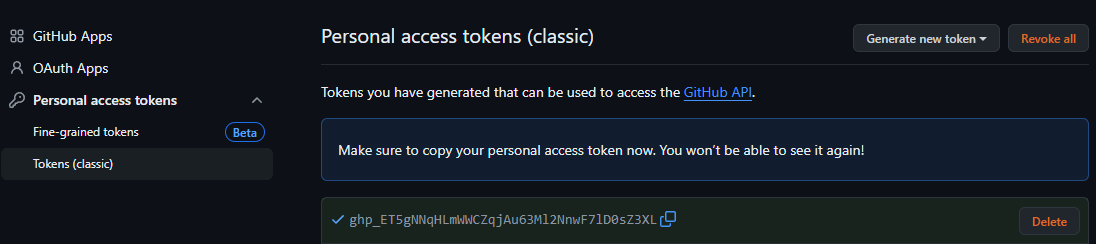
- Click “Generate token” and copy the generated token (you won’t be able to see it again)
Configure Token in Square Cloud
Now configure the token on the Square Cloud platform to establish the connection. After saving, a webhook URL will be displayed. Copy this URL - you’ll need it in the next step.
- Access the dashboard
- Select your application
- Navigate to the Deploy section
- Paste your token in the corresponding field
- Click “Save”
Configure Webhook on GitHub
Configure the webhook in your GitHub repository so it can communicate with Square Cloud.
- Access your application’s repository on GitHub
- Go to “Settings” → “Webhooks”
- Click “Add Webhook”
- Paste the webhook URL in the Payload URL field
- Set the Content Type to application/json
- Click “Add Webhook”
Configure Specific Branch (Optional)
If you want the webhook to monitor only a specific branch, configure an additional parameter.
- In the webhook’s Payload URL field on GitHub
- Add to the end of the URL:
?branch=branch_name
Example: To monitor only the
main branch, add ?branch=main to the end of the URLNext Steps
With the integration configured, you can:- Automatically deploy with every push
- Monitor deployment status in the dashboard
- Configure different branches for different environments
- Leverage Square Cloud’s continuous integration system