Introduction
- This article guides you through creating and hosting an Uptime Kuma application on Square Cloud.
- Before getting started, make sure you have an account on Square Cloud, which can be done through the sign up page. You can use your email to create an account.
- Finally, you need to have an active paid plan on your account. You can view our plans and purchase one according to your needs here.
Choosing a version
- First, we need to choose a version available here.
- Download the
project.zipof the choosed version.
Config file
- If you want a custom subdomain instead of a random hash, you can modify your squarecloud.config to set the desired subdomain.
squarecloud.config
You can also set this through the upload menu.
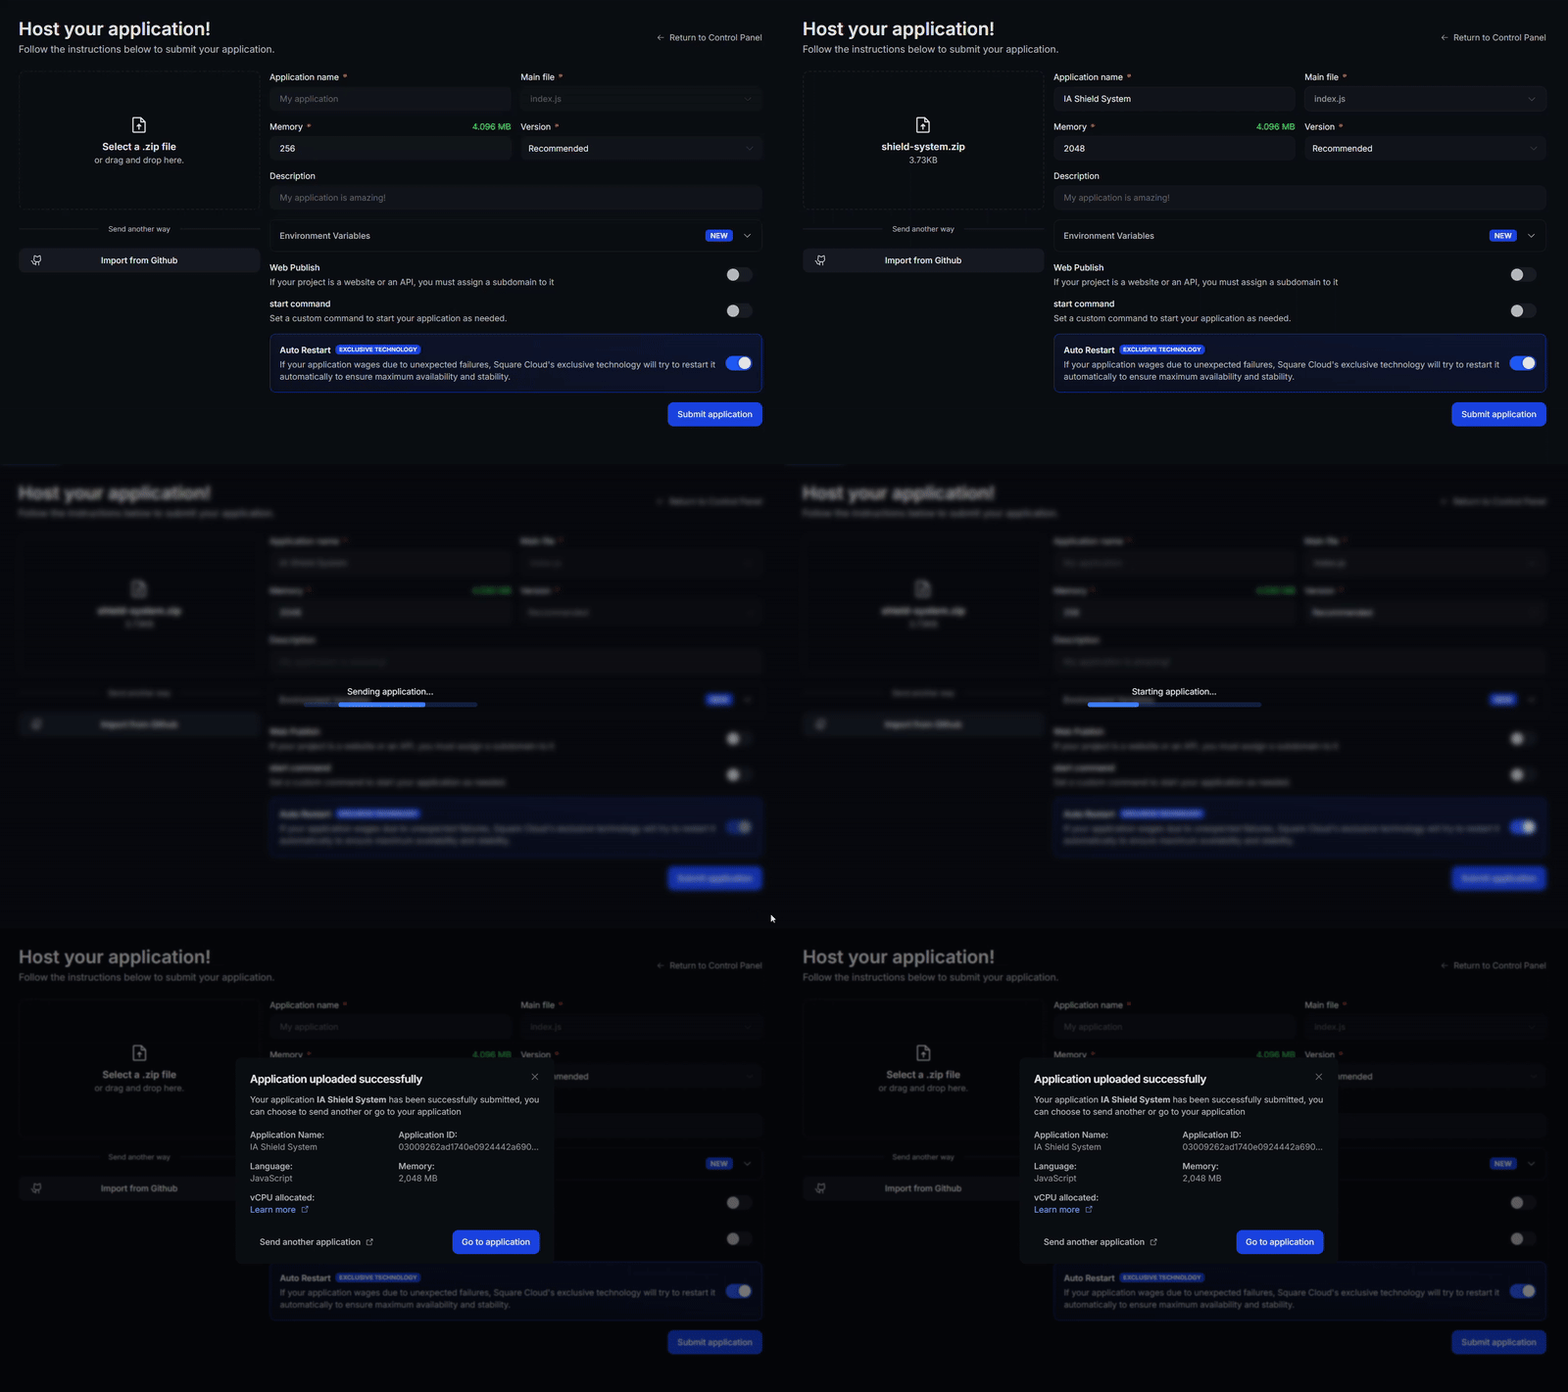
Uploading the Project to Square Cloud
After preparing your project files, you can now upload them to Square Cloud and host your project.- Upload via Dashboard
- Upload via CLI
Access the Square Cloud Dashboard and upload your project files.


