Introduction
- This article guides you through creating and hosting a n8n application on Square Cloud.
- Before getting started, make sure you have an account on Square Cloud, which can be done through the sign up page. You can use your email to create an account.
- Finally, you need to have an active paid plan with at least 4GB RAM on your account. You can view our plans and purchase one according to your needs here.
Creating the Project
- First of all we need an javascript environment. To do this, we need a package.json.
- The package.json must contain on dependencies field the n8n and must have the scripts to start it. Here’s the example:
package.json
We already have everything ready for deploy on our repository here. You just need to download the
project.zip and upload it.📁 Necessary Files
The following files are necessary in your zip:- package.json
- .env (optional)
⚙️ Configuration File
- You need to configure runtime environment to
Detect manuallyand set it toNodeJS. In a squarecloud.config or squarecloud.app will look like this:
squarecloud
- The
MEMORYvalue above follows the platform’s sizing rules — see why RAM minimums exist if you want to tune it. - Next, we need to set 2 environment variables,
N8N_HOSTandN8N_PORTin a.envfile or in the Square Cloud environment on the upload menu. Their values must be0.0.0.0and80.
.env
Uploading the Project to Square Cloud
After preparing your project files, you can now upload them to Square Cloud and host your project.- Upload via Dashboard
- Upload via CLI
Access the Square Cloud Dashboard and upload your project files.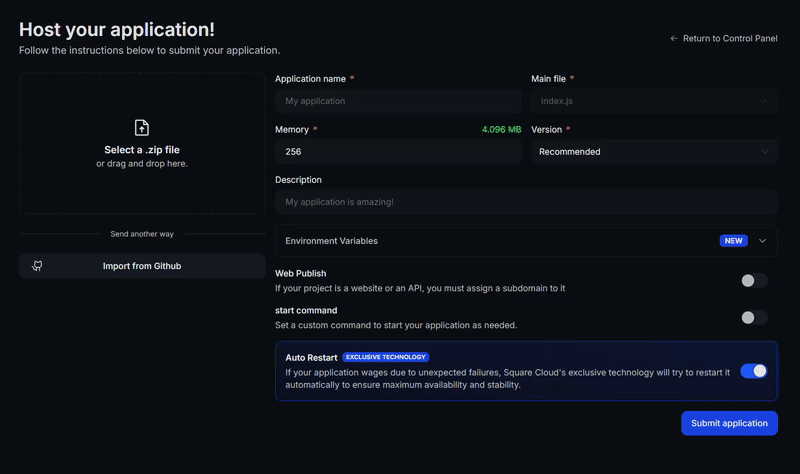
Final Considerations
That’s it! Your n8n instance is now live atmy-n8n-subdomain.squareweb.app, ready for you to start building your automation workflows.